How to Turn Your Mac Into a Web Server
Matt Cone April 26, 2007 Tutorials Mac Developer
Mac OS X is built on Darwin – a Unix-like, open source operating system developed by Apple and built on FreeBSD. This means that Mac users have access to free built-in server applications, like the Apache web server. With Apache and the DynDNS service, you can turn your Mac into a powerful web server. Anyone will be able to access the website stored on your Mac!
The best part is that you can host a website on your Mac for free. There are no hosting fees to pay, and your website will be available any time your Mac is turned on and connected to the Internet. We’ll show you how to do it!
Turn on Personal Web Sharing
The first step to web-serving nirvana is turning on your Mac’s web serving application. Apple hid the Apache web server in an inconspicuous place in Mac OS X, and they called it Personal Web Sharing. But make no mistake about it – this little service included with every Mac is powered by some serious software. Apache powers the Internet, and now it’s going to power the website hosted on your Mac.
Here’s how to turn it on:
From the Apple menu, select System Preferences.
Click Sharing, and then click the Services tab.
Select Personal Web Sharing, and then click the Start button.
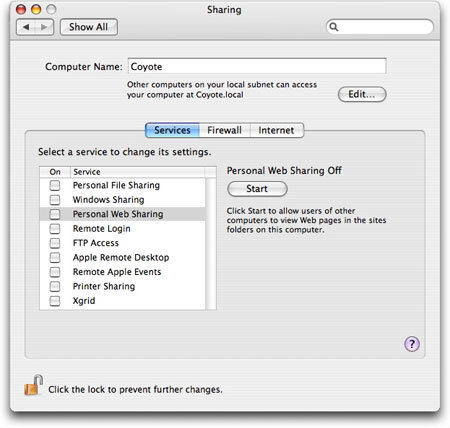
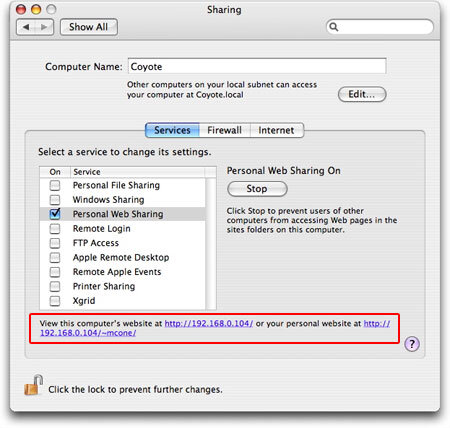
Personal Web Sharing will turn on. (This could take a minute or two.) After it turns on, note your computer’s IP address and URL at the bottom of the Sharing Preferences window. You’ll need this later when you test your website.
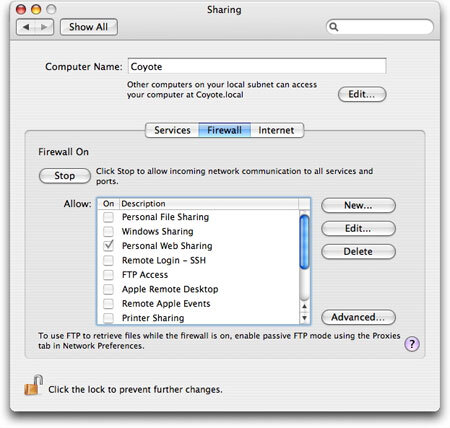
Now that your Mac is accessible to anyone on the internet – including hackers and other evil-doers – you’re going to need to protect it. Click the Firewall tab and make sure your Mac’s firewall is turned on. Also make sure that the checkbox next to Personal Web Sharing is selected. This will allow people to access your website through your Mac’s firewall.
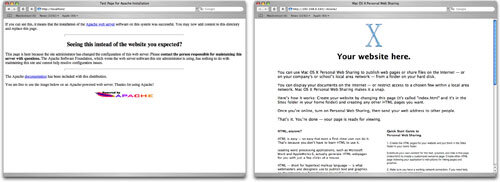
Remember those IP addresses and URLs we asked you to save? Type those into your web browser to test your web server. (You can also type “localhost” – this tells your Mac to look for its own website.) If your web server is working, you’ll see one of the web pages below.
Close the System Preferences. You’ve successfully turned on your Mac’s web server.


Create Your Website
Obviously, you’ll need a website to truly use your Mac as a web server. If you already have one stored on your Mac, you can start hosting it immediately. Here’s how:
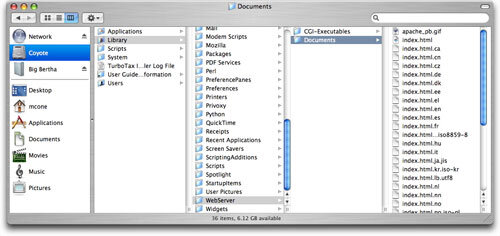
You have a couple choices when it comes to hosting your website. Every user with an account on your Mac can host his or her own website. There’s also a parent directory for the web server – you’ll probably want to use this directory. (We’ll be working with this parent directory for the duration of this tutorial.) Save your files into one of the following directories:
- Parent Directory: Library > WebServer > Documents
- User Directory: User’s Home Directory > Sites
You will need to add at least one file to one of the directories: index.html. This is your homepage!
Test out your website. Depending on which directory you used, you’ll need to modify and use one of the following URLs to see your website:
- Parent Directory:
http://youripaddresshere/(orhttp://localhost/) - User Directory:
http://youripaddresshere/~usernameWhenyou’re satisfied with your website, you’re finished.
- Parent Directory:

Make Your Website Accessible to the World
Now your Mac is hosting your website, but if you’re on a local network, it’s still inaccessible to the rest of the world. The same safeguards that prevent weirdoes from accessing your computer also prevent you from sharing your website. Not to worry! There’s a great service called DynDNS that bypasses all of these trivial annoyances and makes your website available to everyone. DynDNS automatically tracks your Mac and maps your IP address to a domain name. That way, your website will always be available, even if you move your Mac to another location and change IP addresses. Here’s how to use DynDNS:
Register for an account on the DynDNS website. It’s free!
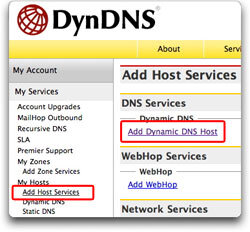
Confirm your new DynDNS by clicking on the link they email you. Log in and click the Add Host Services link, and then click the Add Dynamic DNS Host link.
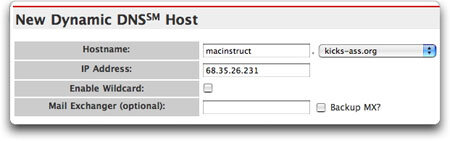
Enter a hostname and select a domain for your website. This third-level domain name is how the world will access your website, so pick carefully! Don’t worry too much about the IP Address right now – DynDNS automatically detects that, and it may or may not be correct. We’ll worry about that later.
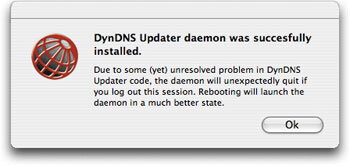
Download the DynDNS Updater application. Double-click the application and click Install to install it.
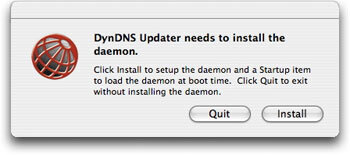
You’ll be prompted for your administrator password. Enter it, and then wait for DynDNS Updater to install. When it’s finished, click OK.
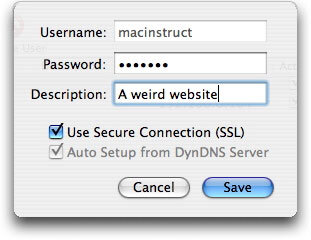
In DynDNS Updater, select Edit Users from the File menu. Enter your username and password. Adding a description is optional. Make sure the Use Secure Connection (SSL) checkbox is selected – you want to protect your password!
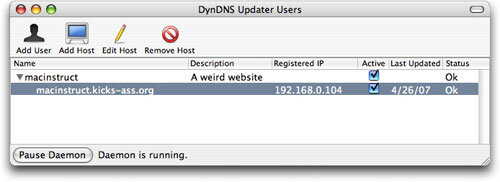
In the DynDNS Updater Users window, click the Start Daemon button. If the status of your account says Ok, your website is available at your DynDNS URL. That’s it – you’re finished!


Oh, #$%&!!! (Important Notes on Using DynDNS)
This whole web server thing with DynDNS is really, really friggin’ cool. But before you get carried away with it, you should have a look at these tips and warnings.
- Not Suitable for Production Servers: DynDNS offers a fee-based Recursive DNS service that allows you to map your domain name (i.e.:
macinstruct.com) to your home computer. This service is not designed for high-traffic websites, and our tutorial presupposes that you will be using DynDNS for small stuff. Please don’t use this as a substitute for a full-fledged web server. - Watch Out for Your ISP: Depending on which company you use for Internet connectivity, hosting a live website can be immediate grounds for suspension or termination of your account. Be sure to carefully read your user agreement before using DynDNS.
- Could be Hazardous to Your Mac’s Health: Using DynDNS does, at the very least, expose your Mac’s IP address. That could be bad news if the wrong people get ahold of it! Plus, running a web server and the always-on DynDNS daemon is processor intensive. Be prepared to take a performance hit. And there’s some more bad news for people with Intel processors: There’s no Universal version of DynDNS Updater.