How to Use Your Mac as a Wireless Router
Matt Cone February 29, 2012 Tutorials Mac Network
Did you know that you can turn your Mac into a wireless router for your home or office? This is a great option if you have cable or DSL service, but have yet to purchase a wireless router! These instructions will show you how to connect several computers or devices - such as an iPhone or iPad - to the Internet via your Mac’s wireless network. The best part is that you can save big money on expensive devices like the AirPort Extreme and AirPort Express by setting up your Mac to do the same thing!

Take a look at the diagram above. You’ll need a cable or DSL modem and a Mac connected to the modem via an ethernet cable. Then you can connect any number of computers and devices to the Mac’s new wireless network.
Here’s how to use your Mac as a wireless router:
Connect the ethernet cable from your Mac to the cable or DSL modem, if you haven’t already.
From the Apple menu, select System Preferences. The window shown below appears.
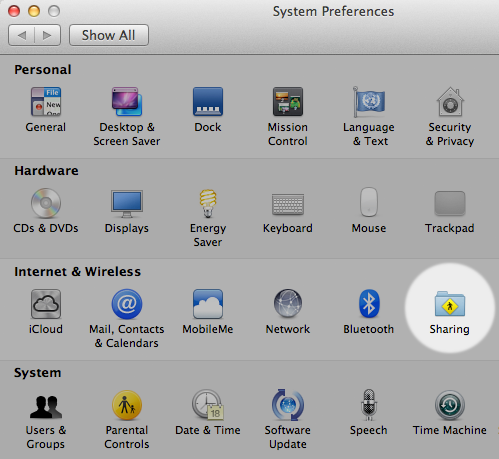
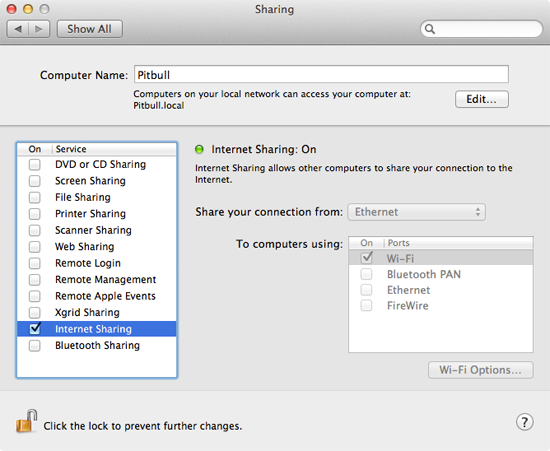
Click Sharing. The window shown below appears.
Click the lock icon and authenticate with an administrator account to make changes.
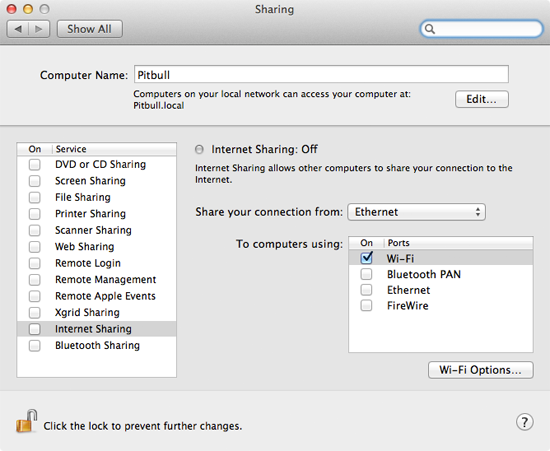
From the sidebar, select Internet Sharing. (Don’t select the checkbox yet - you’ll do that later.)
From the Share your connection from menu, select Ethernet. Remember, we’re selecting Ethernet here because it’s the primary Internet connection for your Mac.
In the To computers using box, select the Wi-Fi checkbox. This tells your Mac to create a wireless network and let any connected computers or devices access the Internet through the ethernet connection.
Click Wi-Fi Options. The window shown below appears.
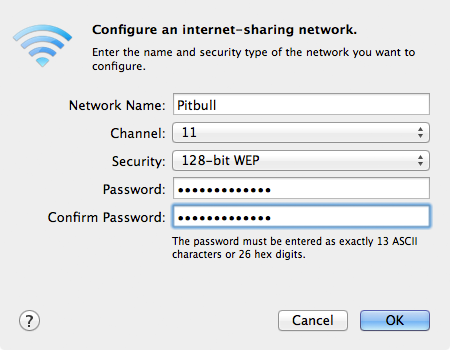
Enter a name for the wireless network in the Network Name field. This is the name users will see when they try to connect to your network from another computer or device.
Leave the Channel setting alone - your Mac automatically determines the best setting for this.
From the Security menu, select 128-bit WEP. This protects your wireless network - and your Mac - from unauthorized access.
Enter a 13- or 26-character password in the Password and Confirm Password fields.
Click OK. You should see the Sharing window in System Preferences again.
Select the Internet Sharing checkbox. The window shown below appears.
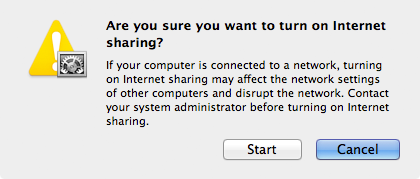
Click Start. The window shown below appears.


Now your Mac is acting as a wireless router. You can connect other computers and devices to the new wireless network you just created, and you can also continue to surf the Internet on your Mac. (Remember, your Mac is connected to the Internet via the ethernet connection, and all of the computers and devices are connected to your Mac.)