How to Turn Your Mac Into an FTP Server
Matt Cone June 13, 2007 Tutorials Mac Developer
Several weeks ago, we showed you how to turn your Mac into a web server. That article is useful for individuals needing to host web pages on their Mac in a pinch, but it doesn’t really go far enough. After all, any good web server should be remotely accessible - that is, you should be able to add and remove files from your Mac when you’re away from home.
You need to turn your Mac into an FTP server! This will allow any individual with a user account on your Mac to remotely access your Mac’s files with an FTP client. Just think of the possibilities:
- You’re using your Mac as a web server and you need to add files to your website while you’re away from home.
- You’re in a band, and your friend wants to hear the songs on your newest CD. Instead of mailing him the CD or posting the songs on a website, you decide to give him access to your FTP server so he can download the songs.
- You’re at work, and you need to access a file stored on your Mac at home. If you have an FTP server setup, you can retrieve the file in a matter of minutes.
Every Mac ships with a built-in FTP server, and it’s easy to turn on and use. We’ll show you how.
Turn on FTP Access
The first step to setting up your Mac’s FTP server is to actually turn it on. Thanks to Mac OS X, this is a relatively straight forward process. Here’s how to do it:
From the Apple menu, select System Preferences.
Click Sharing, and then click the Services tab.
Select FTP Access, and then click the Start button.
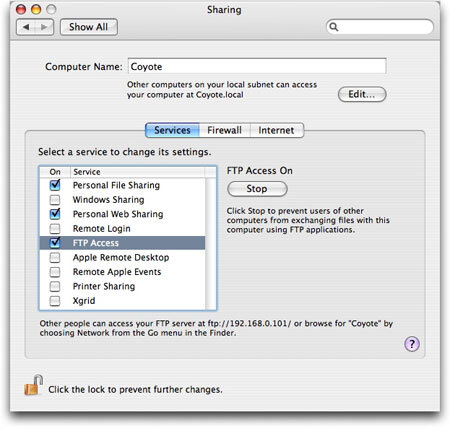
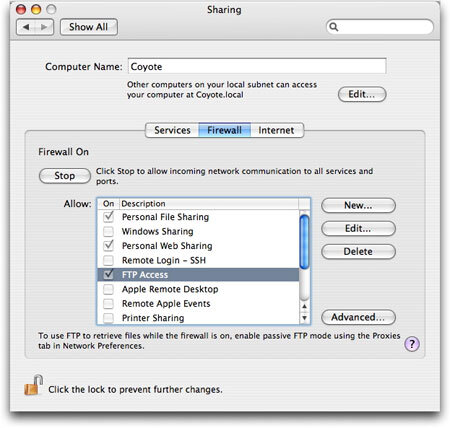
The FTP Server will turn on. (This may take a minute or two.) After it has started, click the Firewall tab and make sure your Mac’s firewall is turned on. Also make sure that the checkbox next to FTP Access is selected. This will allow people to access your files through your Mac’s firewall.
Close the System Preferences. You’ve successfully turned on your Mac’s FTP server.


Make Your FTP Server Accessible to the World
Now your Mac is running an FTP server, but if you’re on a local network, it’s still inaccessible to the rest of the world. The same safeguards that prevent weirdoes from accessing your computer also prevent you from sharing your files. Not to worry! There’s a great service called DynDNS that bypasses all of these trivial annoyances and makes your FTP server available to everyone.
DynDNS automatically tracks your Mac and maps your IP address to a domain name. That way, your FTP server will always be available, even if you move your Mac to another location and change IP addresses. Here’s how to use DynDNS:
Register for an account on the DynDNS website. It’s free!
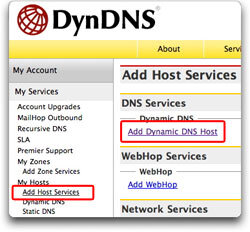
Confirm your new DynDNS by clicking on the link they email you. Log in and click the Add Host Services link, and then click the Add Dynamic DNS Host link.
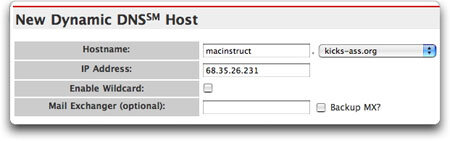
Enter a hostname and select a domain for your FTP server. This third-level domain name is how the world will access your FTP server, so pick carefully! Don’t worry too much about the IP Address right now – DynDNS automatically detects that, and it may or may not be correct. We’ll worry about that later.
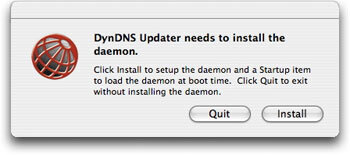
Download the DynDNS Updater application. Double-click the application and click Install to install it.
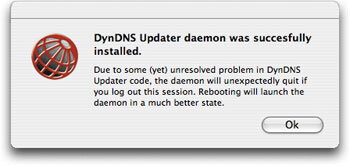
You’ll be prompted for your administrator password. Enter it, and then wait for DynDNS Updater to install. When it’s finished, click OK.
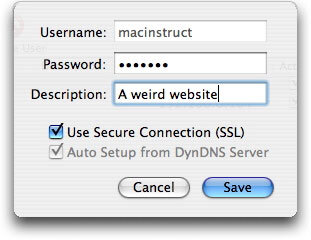
In DynDNS Updater, select Edit Users from the File menu. Enter your username and password. Adding a description is optional. Make sure the Use Secure Connection (SSL) checkbox is selected – you want to protect your password!
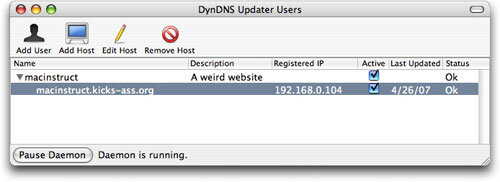
In the DynDNS Updater Users window, click the Start Daemon button. If the status of your account says Ok, your FTP server is available at your DynDNS URL. That’s it – you’re finished!


Accessing Your Mac’s FTP Server
After you’ve enabled FTP Access and turned on DynDNS, you’ll be able to use any FTP client (like Transmit) to access your Mac’s files and folders. Just type in your DynDNS domain name and the username and password you use to access your Mac OS X account.

Once you connect to your Mac, you’ll be able to transfer any files you like! It’s almost as good as being in front of your Mac.
