How to Create an Internet Radio Station
Matt Cone June 17, 2007 Tutorials Mac Music Internet
Have you ever wanted to stream music to all of the computers in your house? Have you ever wanted to be a DJ? Have you ever wanted to create an online radio station full of music licensed under the Creative Commons, or music you create yourself? This tutorial will explain how to create your very own Internet radio station with Rouge Amoeba’s Nicecast.
Here’s how to create your own Internet radio station:
Download, install, and launch Nicecast.
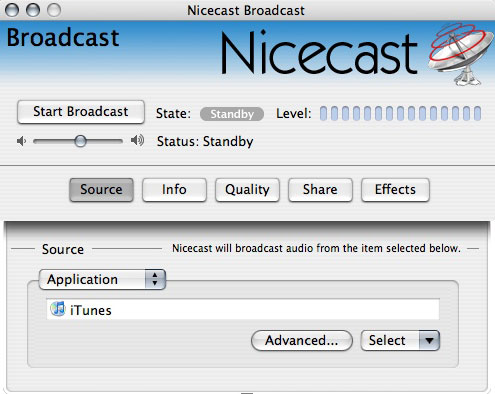
In the Broadcast window, select the Source tab. This is where you select the source that Nicecast will broadcast from. The default application is iTunes, but you can pick another application by clicking Select. You can broadcast from iTunes, Last.FM, or any other application that outputs sound. If you would rather broadcast from an audio device (i.e., microphone) or from the system audio, you can select that from the pull-down window.
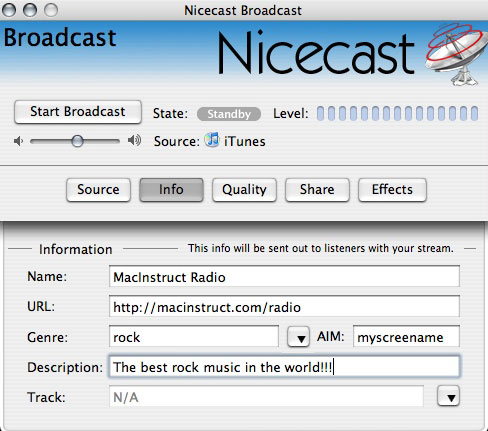
Select the Info tab. Here, you can edit the information listeners will see on their computers. The Name, URL, Genre, Description and AIM fields are for your station’s information. All fields are optional. The Track field will show the song that is currently playing, if you are broadcasting from iTunes.
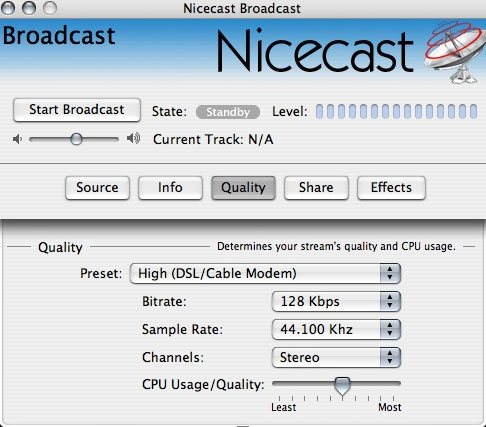
From the Quality tab, select your stream’s sound quality. The presets usually work well, but if you’re an audio buff, you will definitely want to play around with these settings.
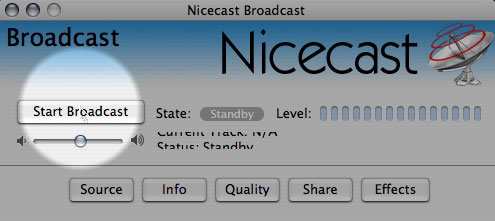
Start the broadcast! Just click Start Broadcast to start streaming. Nicecast may ask to “hijack” the application you want to broadcast from. This will quit and then relaunch the application. If you buy Rouge Amoeba’s Audio Hijack Pro ($32), you can do this without relaunching the application. Once you have hijacked the audio into Nicecast, you can play the content. If you are in iTunes, just double-click on song you want to play. We like to set up a playlist called “Radio” so that we can drag songs we want to play into the playlist. Just remember: What iTunes plays, your audience can hear.
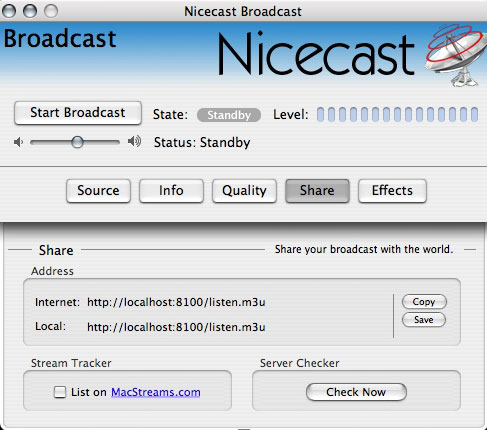
To listen to your broadcast, or to allow others to listen, select the Share tab. The Internet Address is the one that people anywhere in the world can access (unless you have a router, which will prevent that). If you want people on your network (within your router) to listen, they can use the local address. You can tell them to enter the URL into their web browser, or they can use an application like VLC to listen to the stream, but iTunes should handle it just fine. If you want to let the whole world know about your stream, you can have Nicecast post a link to your stream on MacStreams.com. This website serves as a directory of all of the live Nicecast streams. If you were offline while setting up Nicecast, you can click Check Now under the Server Checker section. Nicecast will find your IP Address and share it with the world.
If your broadcast is too loud or too soft, you can adjust the volume just below the Stop Broadcast button.

Your Internet radio station should be up and running fine! The number of people listening to your stream will be shown in the dock as a number above the icon, kind of like when you get new mail in Apple’s Mail.app.
When you are done with your broadcast, you can click the Stop Broadcast button - the same button you used to start the broadcast. This will stop the broadcast, as well as disconnect your current listeners.
Beyond the Basics: Playing With Effects
So you’re broadcasting now. But the truth is, you’ve just scratched the surface of this amazing application. We couldn’t resist showing you the Effects part of Nicecast.
Clicking the Effects button in the Broadcast window will bring up the Effects window.
You can add an effect by clicking on the empty squares. We’re not audio buffs, so we don’t really know what the mixer, equalizer, filter, or enhancer are, but there are over 20 of them available for use. The most important effect for novices is VoiceOver. VoiceOver allows you to talk over the music or and introduce every song - just like what is done on the radio. This is the one default effect. If you can’t find it, look under 4FX Effect when you select Click here to insert effect.
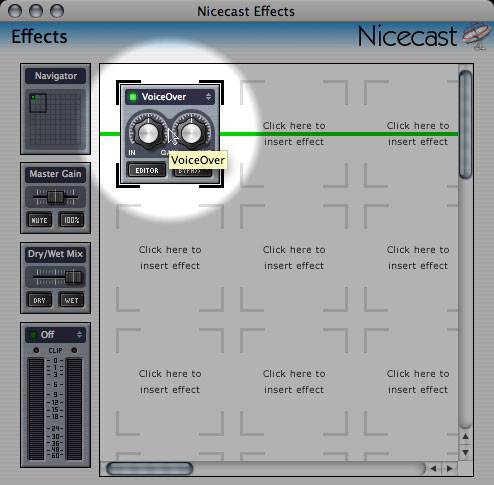
To edit the settings and turn on VoiceOver, click Editor in the bottom-left corner of the VoiceOver box in the Effects window.
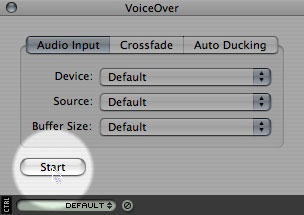
In the VoiceOver window, you can select the device you want to do the VoiceOver (which should probably be your microphone). Source should remain default, as should buffer size, unless you know what you’re doing.
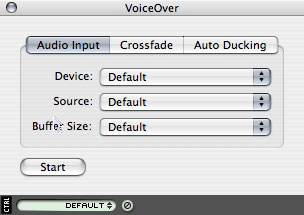
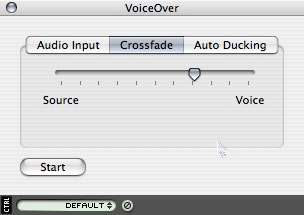
In the middle of a broadcast, you can click the Start button to do the VoiceOver. During the VoiceOver, you can decide the music-to-voice ratio on the crossfade tab of the VoiceOver window. The closer the bar is to voice, the louder the voice will be in relation to the source. The same goes for source - the closer the bar is to source, the louder the music will be.
Subscribe to our email newsletter
Sign up and get Macinstruct's tutorials delivered to your inbox. No spam, promise!