Import MiniDV Tapes with Broken Timecodes
Dave Strom October 2, 2007 Tutorials Mac Hardware
Video cameras and camcorders have become standard equipment for every barbecue, wedding, and family reunion. Unfortunately, these devices can sometimes screw up in a big way. One of the more common problems is known as the “broken timecodes” - a problem that results in your MiniDV tapes not reporting the correct timecode. If you record on a new MiniDV tape, rewind, play back what you recorded plus a little bit extra, and then record again, you leave a non-recorded section between your recorded sections. That action breaks that MiniDV tape’s timecode. If a MiniDV tape has broken timecodes, it is likely that it will not import its video properly into Final Cut Express. (This is discussed in some detail in Derrick Story’s excellent book, “Digital Video Pocket Guide”.)
You can still import these tapes into Final Cut Express (and probably Final Cut as well). First, import the MiniDV tape into iMovie. iMovie is more forgiving of broken timecodes than Final Cut Express.
Import Your MiniDV Tape into iMovie
Open iMovie.

Turn on your MiniDV camera and connect it to your Macintosh with a Firewire cable. (Or USB 2.0 if your camera does not have Firewire.)
Set the MiniDV camera to play mode.
iMovie should enter camera mode. If not, click the mode switch to enter Camera Mode.

Position your MiniDV tape to a few seconds before the point where you want to start importing your video. (Or just rewind it all the way if you want to import the whole tape.)
Click the Import button. Your MiniDV video clips import into iMovie.
Save the iMovie project. Close iMovie.
Put the iMovie Video Clips into Final Cut Express
Now you have two options: open the iMovie project within Final Cut Express, or extract and import the video clips.
Option 1: Open the iMovie Project in Final Cut Express
This method requires that you create a new Final Cut Express project. It also requires you to keep the iMovie project because it contains the video clips referenced by the Final Cut Express project.
- Create a folder to contain your video project, and move the iMovie project into it.
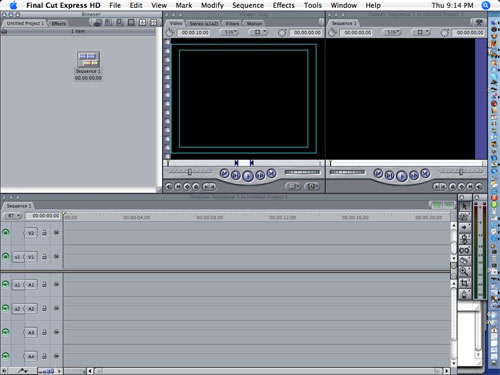
- Open a new Final Cut Express project.
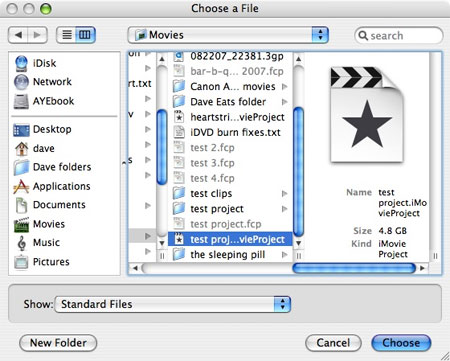
- From the File menu, select Open.
- Navigate to the iMovie project and click the Choose button.
- Final Cut Express now asks you to save this project as a Final Cut Express project. Do so, saving it into your video project folder.
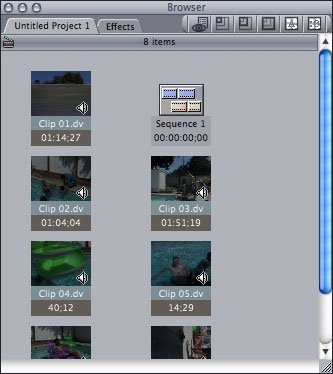
The video clips in the iMovie project appear in the Final Cut Express Browser.

Option 2: Extract and Import the iMovie Video Clips into Final Cut Express
This method allows you to import the iMovie video clips into an existing Final Cut Express project as well as a new one, and it also allows you to delete the iMovie project once you extract its video clips. You can also use this method if you have trouble opening the iMovie project in Final Cut Express.
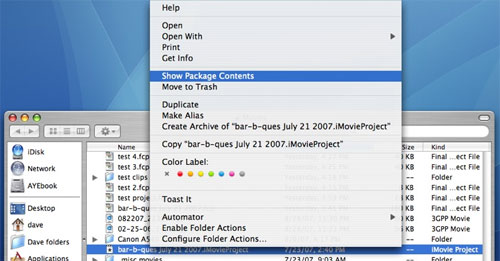
In the Finder, right click the iMovie project.
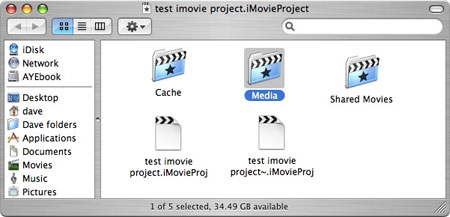
From the pop-up menu, select Show Package Contents. A window opens showing the contents of your iMovie package.
In the window showing the iMovie project contents, open the Media folder. You will see a list of the video clips in the iMovie project.
If you are creating a new Final Cut Express project, create a folder that will contain your video project, and create a folder inside it to contain the iMovie video clips. If you are using an existing Final Cut Express project, create the video clips folder close to that project.
Drag the video clips from the iMovie Media folder to the video clips folder.
Either open a new Final Cut Express project and save it in your video project folder, or open an existing Final Cut Express project.
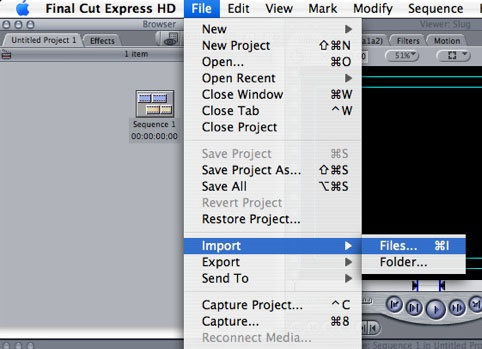
In the Final Cut Express project, select Files:Import:Files…, navigate to the video clips folder, select all the video files in the folder, and click the Choose button. (You can also select Files:Import:Folder…, navigate to the video clips folder, and click the Choose button.)
Save the Final Cut Express project.
Delete the iMovie project. (It is broken anyhow, since the video clips are moved out of it.)
How to Avoid Broken Timecodes on MiniDV Tapes
You can avoid the broken timecode problem by blanking your MiniDV tapes before you record on them (this tip is from Derrick Story’s book).
- Insert a fresh MiniDV tape into your MiniDV videocamera.
- Put the lens cap on the videocamera.
- Mute your sound (or have your MiniDV camera in a nice quiet place).
- Record over the entire MiniDV tape.
- Rewind the tape.
You now have a miniDV tape that has no unrecorded sections, thus no broken timecodes.
Subscribe to our email newsletter
Sign up and get Macinstruct's tutorials delivered to your inbox. No spam, promise!