How to Update a SuperDuper! Backup
Matt Cone December 14, 2011 Tutorials Mac Apps Backups
Regularly updating the backups of your Mac’s hard drive is essential. If you’ve already created a backup of your hard drive with an application called SuperDuper!, it’s easy to update. The smart update feature allows SuperDuper! to compare the current files on your hard drive with the files in your backup. If the files have been modified, SuperDuper! copies those files - and those files only - to the backup drive. Because you’re only copying the modified files, a smart update takes only a fraction of the time as a full backup.
Updating an Existing SuperDuper! Backup
Your existing SuperDuper! backup already contains the vast majority of files stored on your computer’s hard drive. The smart update feature compares your hard drive with the backup to find the files that need to be replaced, and those are the only files that are transferred.
Here’s how to update an existing SuperDuper! backup:
Connect the backup drive to the computer, if it is not already connected.
Open the SuperDuper! application. The window shown below appears.

Select the primary hard disk (the volume or partition you want to back up) from the Copy menu.
Select the backup drive (the volume or partition you want to copy your primary hard disk to) from the To menu.
From the Using menu, select Backup - all files.
Click Options. The window shown below appears.
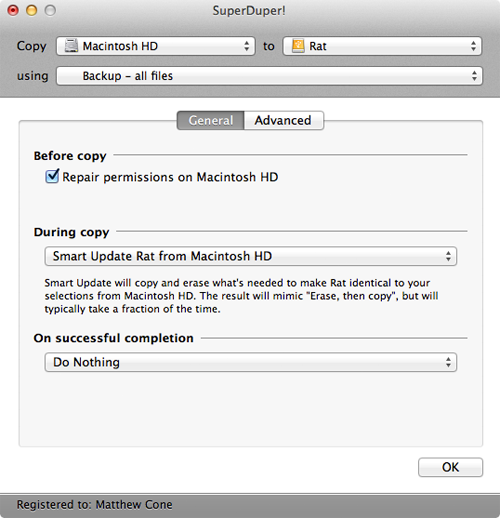
Select the Repair permissions on Macintosh HD checkbox. This ensures that the permissions will be repaired before the primary hard disk is copied.
From the During copy menu, select Smart Update Backup Drive from Macintosh HD. This will update your backup drive to make it identical to your hard disk.
Click OK. The window shown below appears. Make sure that it says that you will be performing a smart update.
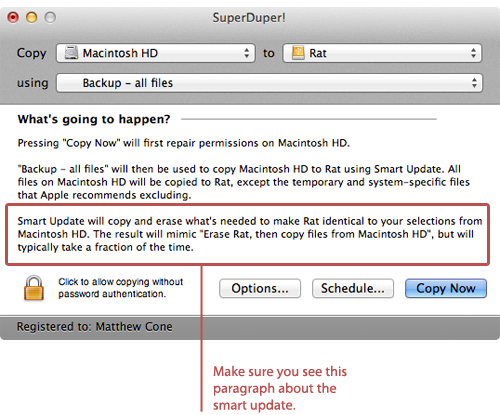
Click Copy Now. SuperDuper! starts updating your backup. Depending on how out of date your backup is, this can take up to an hour or two. You can continue using your computer while SuperDuper! is backing up the hard drive.
Test the backup drive to make sure it works. For instructions, see How to Test Your SuperDuper! Backup.


