How to Set a Static IP Address on a Mac
Matt Cone February 19, 2021 Tutorials Mac Network
When your Mac is connected to a private network in a home or office, it’s probably assigned what’s known as a dynamic IP address. (To check, see How to Find Your Mac’s IP Address.) That’s not a problem for the majority of users - most people don’t care whether their IP addresses changes or not. But dynamic IP addresses won’t work for certain tasks like port forwarding, dynamic DNS, or client-to-client file sharing on the local network. For those unique situations and others, only a static IP address will work.

By setting a static IP address in macOS, you’ll create a permanent, private IP address for your Mac that won’t change from one day to the next. Other devices connected to the local network will be able to access your Mac, and if you set up port forwarding, certain services running on your Mac will be accessible to the outside world.
Here’s how to set a static IP address in macOS:
If you own a MacBook, you may want to create a new network location. This will allow you to use the static IP address for certain networks and not others. See How to Configure Network Locations in OS X for instructions.
From the Apple menu, select System Preferences.
Select Network. The window shown below appears.
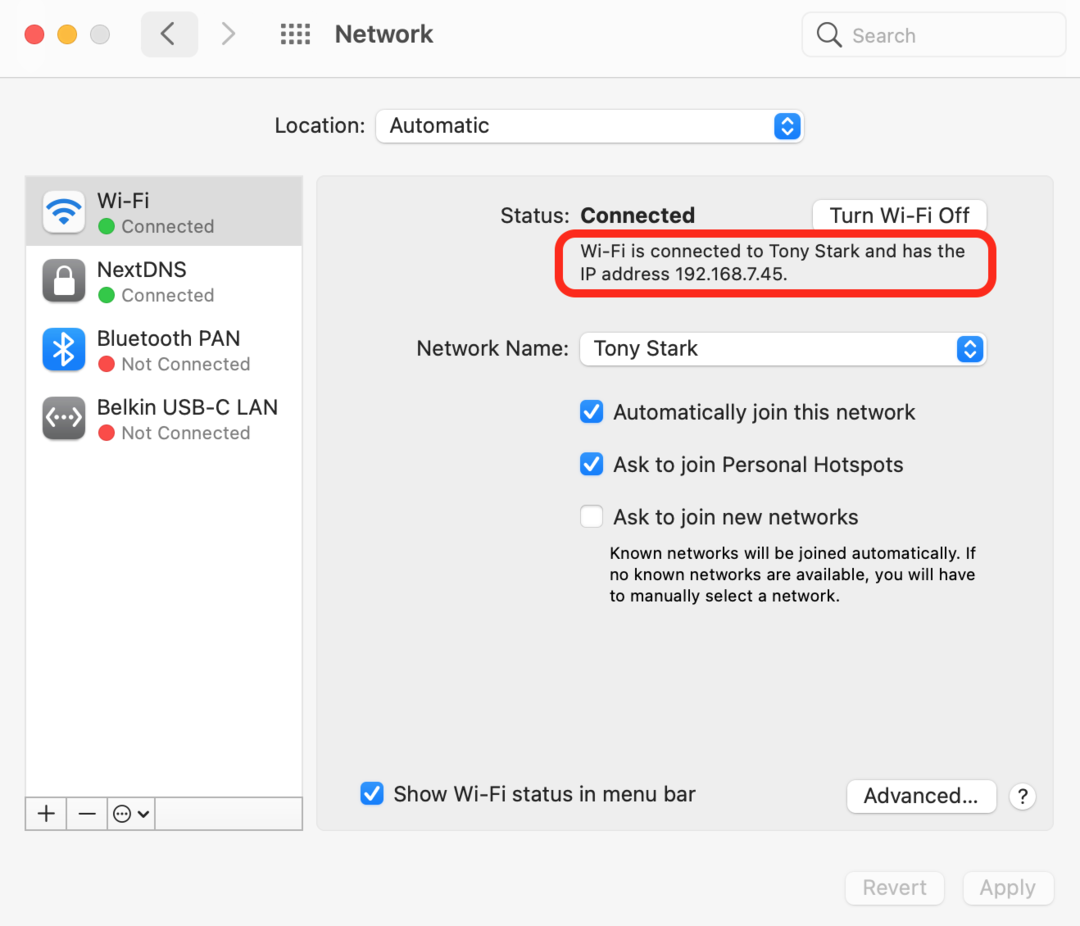
From the sidebar, select an active network interface. In this example, I’m connected to a wireless network, so I’ll select Wi-Fi.
Make a note of the current IP address assigned to your Mac. You’ll need to select a new IP address from within the private IP address range listed. More on that in a minute.
Click Advanced.
Select TCP/IP. The window shown below appears.
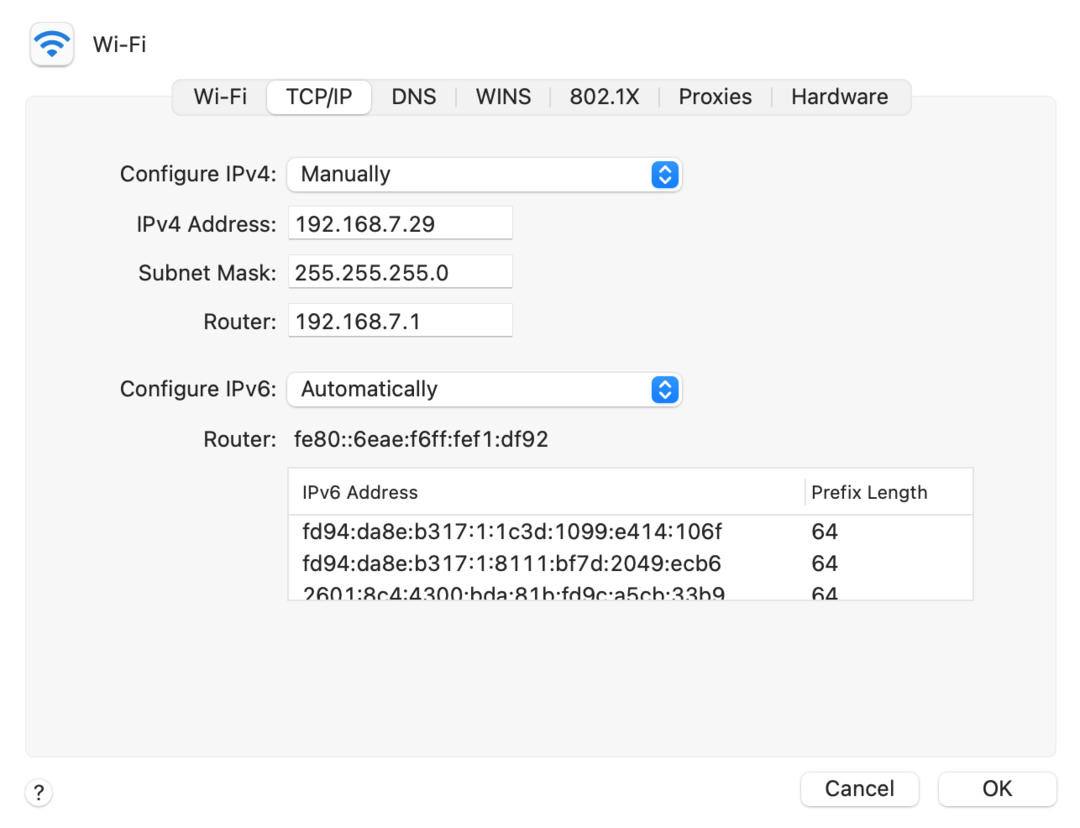
From the Configure IPv4 menu, select Manually.
Enter a static IP address in the IPv4 Address field. What number should you enter? One method is to take your current IP address and change the last part of the number. In this example, I could have picked any address between
192.168.7.0and192.168.7.255, as long as the address was not already assigned to another device.Click OK.
Click Apply.


Congratulations! You have successfully set a static IP address for your Mac. Now the other devices on the private network can access your Mac by using the static IP address you assigned it. Just remember to switch network locations if you start using a different network - others may not take kindly to you using a static IP address on their network.