How to Install RAM in a PowerBook G4
Matt Cone March 28, 2007 Tutorials Mac Hardware
Installing RAM into your PowerBook G4 is the easiest way to breathe new life into your aging portable. This inexpensive upgrade can be performed by anyone in a matter of minutes, and after you’re finished, your Mac will run like new!

RAM, or “Random Access Memory,” is a type of data storage used by your computer. RAM is a little like your hard disk drive, only there are no moving parts, and RAM is faster - a lot faster. Your Mac uses RAM to store information that needs to be accessed quickly and easily. Applications are usually loaded into your RAM, as are files you are working on. The more RAM you have installed in your Mac, the faster your Mac will run. You’ll be able to run more applications simultaneously, and your Mac won’t slow down after you’ve had it on for extended periods of time.
But is RAM really important? Why do people need it? When your Mac uses all the available RAM, it starts to put the information that was supposed to be stored in the RAM directly onto your hard disk drive. If that happens, you’re in for some serious waiting (not to mention hard drive-grinding noises). Your system will slow down, because the hard drive is much, much slower than RAM (RAM is like 100,000 times faster than a hard drive). This is called “swapping.”
So, the more RAM you have in your system, the faster it should be! That’s because the Mac won’t need to swap information, and that will make your system run better.
Before You Start: Things You Should Know
Since all PowerBook G4s are slightly different, you should check EveryMac’s PowerBook RAM Guide to determine what sort of RAM your PowerBook needs. We’re performing our upgrade on a 1 GHz 12" PowerBook G4. Your PowerBook might look slightly different, but our instructions will still apply to almost every model.
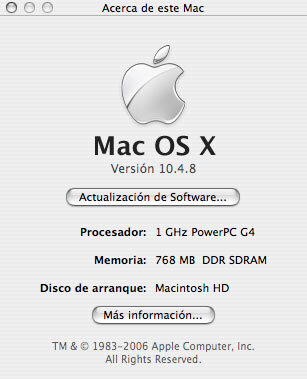
You can check to see how much RAM your Mac has by selecting About This Mac from the Apple menu.
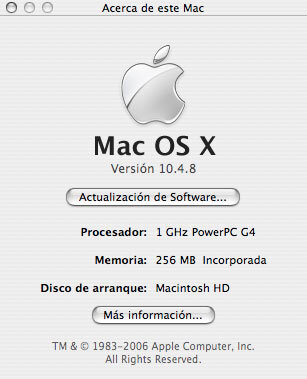
Our 12" PowerBook (and almost all of Apple’s PowerPC-based portables) have memory soldered onto the mother board. This is great, because if your new memory module fails for some reason, you still can turn on your Mac and use it.
Do not, we repeat, do not buy the cheapest RAM you can find. It’s pretty hard to manufacture RAM, and if you buy the cheapest module available, you’re setting yourself (and your Mac) up for disaster. Trust us on this one. You don’t want a dud RAM module, and you also don’t want your RAM failing at the worst possible time.

How to Install RAM into a PowerBook G4
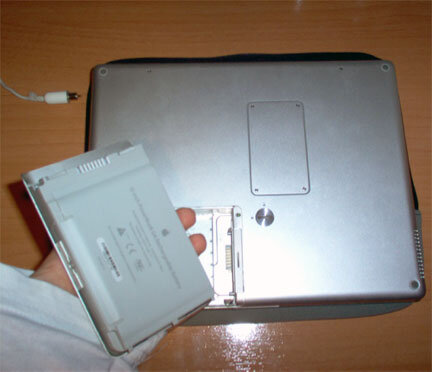
Flip your PowerBook over and set it down on a desk. You should be looking at the backside.
Turn off and unplug your Powerbook. Take out its battery (this allows you to touch the innards of your Powerbook without being shocked). After you do this, it doesn’t hurt to push the power button couple times, either.
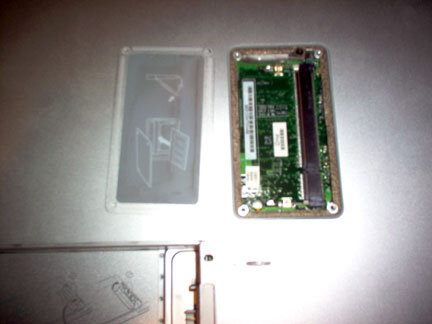
With the #0 Phillips Screwdriver ($4.36, Amazon.com), take out the four screws that are holding the cover of the memory slot.
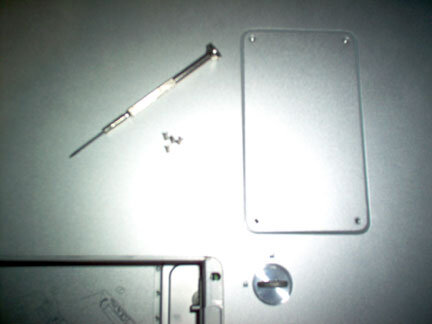
Take off the cover.
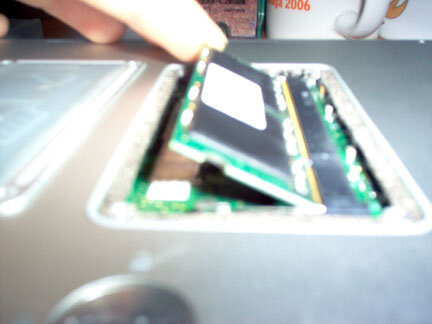
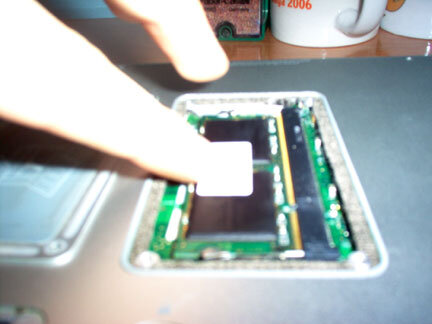
Now you’re ready to install your memory module. Make sure the gold pins are facing down at a 30º angle, and make sure the pins are positioned correctly (i.e., line up the groves on the module with the groves on the slot).
Push the memory module down until the clips snap onto the module.
Now the only thing left is to put the cover back on again. Turn on your newly upgraded Mac and take it for a spin!