Use AppleScript to Control Startup Apps
Matt Cone May 21, 2007 Tutorials Mac Developer
You probably know that your Mac can automatically open applications when you turn it on or log into a user account. The problem is that automatically opening Internet-dependent applications (such as iChat or Mail.app) can slow down your Mac if you’re not connected to the internet.
To improve your Mac’s startup time, we’ll utilize a simple AppleScript to determine whether or not your Mac is connected to the Internet, and then automatically open selected applications if an Internet connection is present. If your Mac isn’t connected to the Internet, the AppleScript won’t launch the applications. Here’s how to do it:
Start by downloading this small application. We call it Smart Start. It’s the home-grown AppleScript we’ll be using to implement this crazy idea.
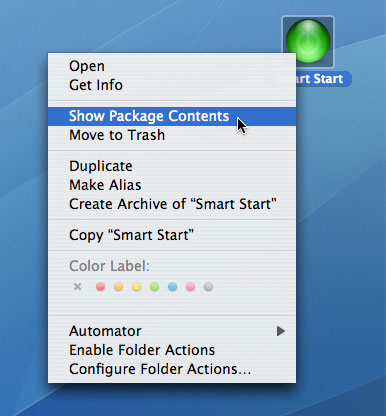
Once it has finished downloading, right click on Smart Start and select “Show Package Contents”.
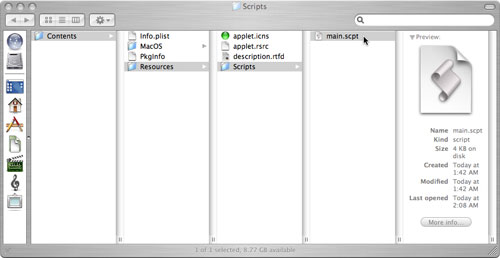
Navigate into the application by double-clicking the contents folder, and then resources, and then finally scripts. Here you will find a document titled “main.scpt”.
Open main.scpt with Script Editor.
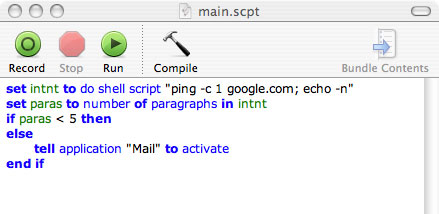
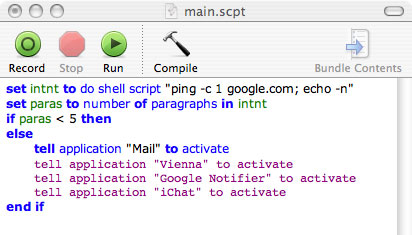
Don’t sweat it if the sight of an AppleScript gives you the willies. Our work here will be brief and simple. To better understand what this script is doing, we’ll break it down into two parts.
The first part of the script attempts to verify a connection to the Internet. It does this by trying to ping Google’s server. Essentially, your Mac sends a small packet of data to Google’s server and then listens for it to echo back. If it doesn’t return, then your Mac assumes there is no Internet connection. Smart Start will then quit without opening any applications.

If an Internet connection is verified, the second part of the script tells Mail.app to open.

We know Mail.app is not necessarily one of the applications you’ll want to open - we simply used it as an example. You can open any application you like. Just replace “Mail” with the name of an application installed on your Mac.
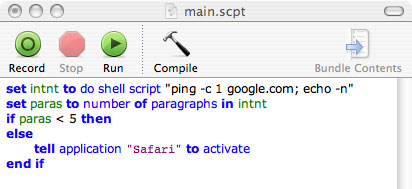
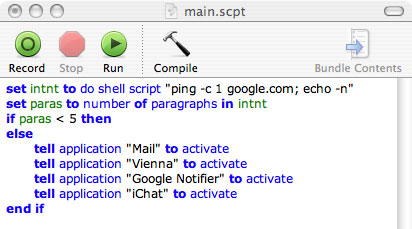
You can also add as many applications as you like by simply copying and pasting the “tell application” line. Double check that you type in the application names correctly. If spell them incorrectly, your Mac won’t be able to find the application, and the script will fail.
As you enter text into Script Editor, you may notice that it appears purple, unlike the text around it. This is normal. Once you are finished editing the document, click “Compile”. (It’s the hammer icon.)
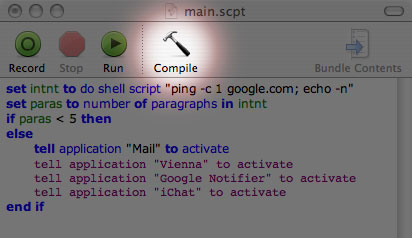
Script Editor will automatically format and colorize the text appropriately.
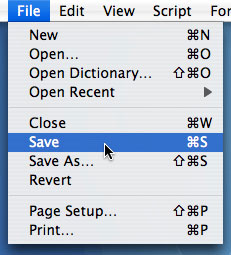
Once it’s compiled, you can save the script and exit Script Editor.
At this point, we suggest moving the Smart Start application to a safe spot on your hard drive. We chose the Applications folder.
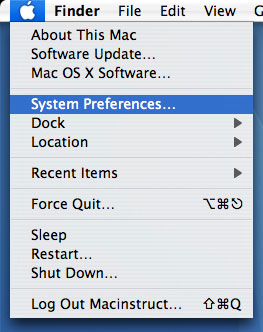
Now that you’ve configured your script to open applications, you need to tell your Mac to run the script when it turns on. From the Apple menu, select System Preferences.
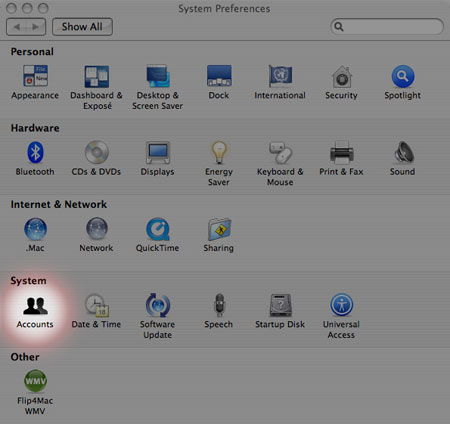
Select Accounts.
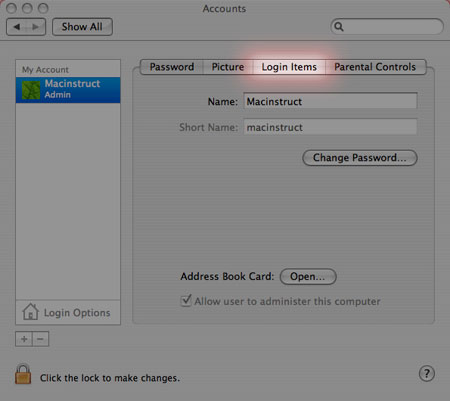
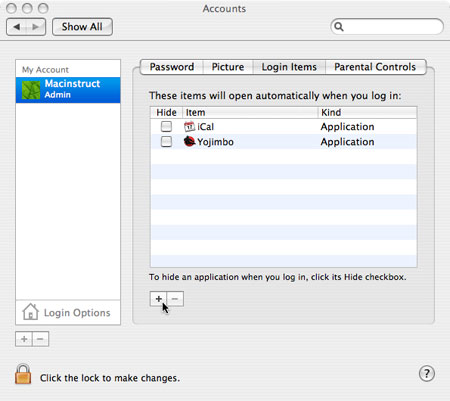
Select the Login Items tab.
Here, you’ll find a list of applications that are set to automatically open when you log in. Any applications you chose to include in the Smart Start script must be removed from this list. Do this by selecting the application and clicking the minus (-) button.
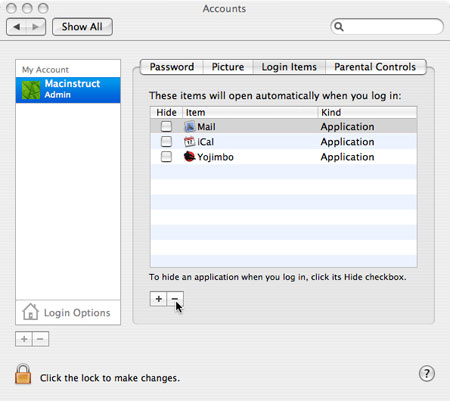
Click the plus (+) button.
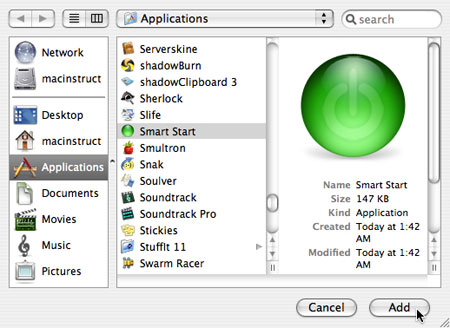
Locate the Smart Start application on your hard drive, and then click Add.
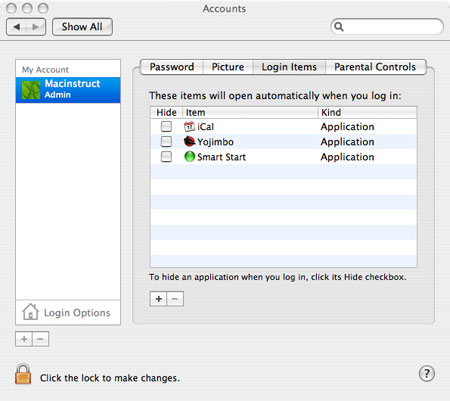
Smart Start will now appear on the list.
That’s it, you’re done! The next time you log in, you can give yourself a pat on the back. Your Mac is taking a smarter approach to logging in!
Subscribe to our email newsletter
Sign up and get Macinstruct's tutorials delivered to your inbox. No spam, promise!