A Beginner's Guide to Quicksilver
Matt Cone July 3, 2007 Tutorials Mac Apps
Quicksilver is a freeware application launcher and productivity program for Mac OS X. With a couple of keystrokes, you can quickly and effortlessly start applications, open files and folders, move things around on your Mac, and even navigate your iTunes library - all without using your mouse! Quicksilver integrates seamlessly with Mac OS X and most popular Mac applications. With a little practice, using Quicksilver will become second nature, and you’ll be using it without even knowing it.
To help you get started with this great application, we’ve recorded a screencast and written about the basics. Obviously, this isn’t a complete guide to Quicksilver, but it should be enough to get you started.
Installing Quicksilver
Download and run the Quicksilver installer.
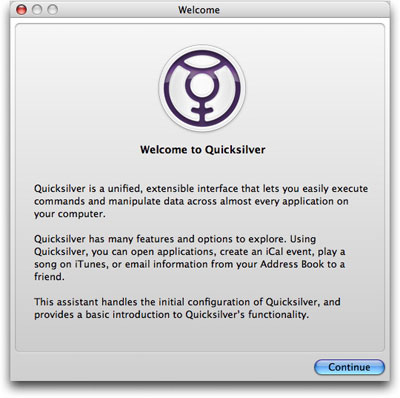
The Quicksilver welcome message will appear. Click Continue to start the installation process.
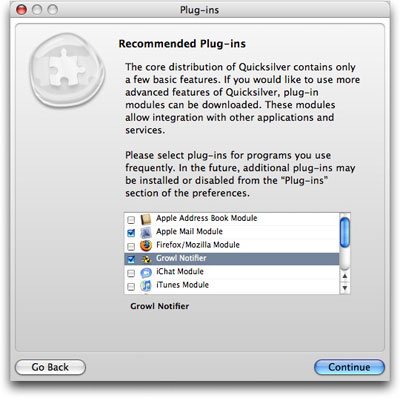
To extend Quicksilver’s functionality, you can select plug-ins to install. These modules will allow Quicksliver to integrate with other applications on your Mac. If you’re not sure which modules to install, or if you don’t want to install any modules right now, don’t sweat it. You can also add modules later. When you’re finished, click Continue.
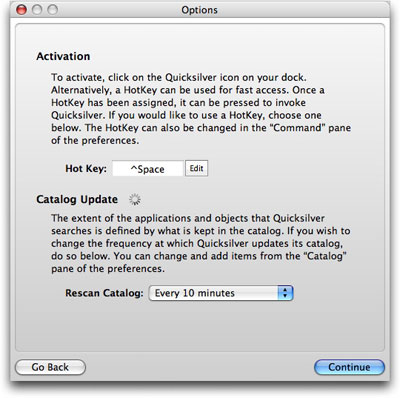
Since Quicksilver will always be running in the background, you’ll need to assign a keystroke to make Quicksilver appear. The default shortcut is Ctrl-Space, but you can change that to whatever you want. You can also change the interval at which Quicksilver updates its catalog, or list of files and applications that can be launched. The lower you set the interval, the more work your Mac will have to do. When you’re finished, click Continue.
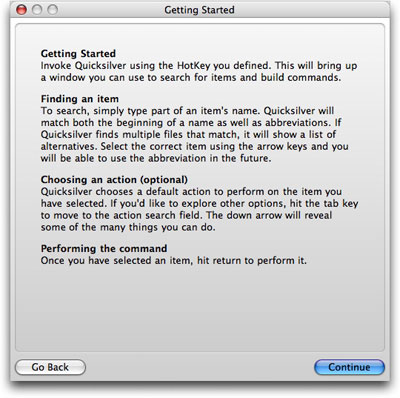
You’re almost finished installing Quicksilver. Last up: A helpful window full of tips and tricks for beginners. Pay heed, greenhorns! When you’re finished, click Continue.
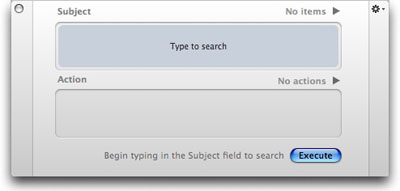
Now you’re at the main Quicksilver window. This is what you’ll see from now on, every time you launch Quicksilver with the keystroke you set. Just start typing the name of an application you’d like to launch, or the name of a file you’d like to open. Quicksilver will try to guess what you’re typing and auto-complete the name. Just press the Return key to open the file or application.
To make this window disappear, press the Esc key or the Quicksilver keystroke.
That’s it. Quicksilver is now installed on your Mac, and unless you uninstall it, it’ll automatically start every time you turn on your Mac. It’s there waiting in the background.
How to Open Things With Quicksilver
Once you starting getting the hang of Quicksilver, you won’t want to stop using it. Opening stuff with keystrokes takes a lot less time than clicking around in folders! But how do you use Quicksilver to open applications and other objects? Here are some ways to open common, everyday objects:
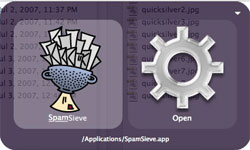
Open an application. Open Quicksilver with the keystroke you assigned it. Start typing in the name of the application you want to open. Quicksilver will try to guess what you’re typing and auto-complete the application’s name. When you see the name of the application you want to open, hit the Return key.
Open a file on your Mac. Open Quicksilver with the keystroke you assigned it. Start typing in the name of the file - Quicksilver will try to auto-complete the name. It might need a little help. Watch for a box full of files with names similar to the one you typed. You can navigate to the file in the list with the arrow keys. Hit the Return key to open the file.
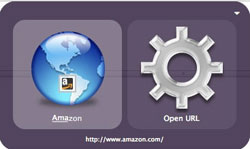
Open a web page with your default web browser. Open Quicksilver with the keystroke you assigned it. Start typing in the URL you’d like to visit, without the “http://www.” In this case, we typed in Amazon, which is bookmarked in our web browser, so Quicksilver had no problem auto-completing the address. Just hit the Return key to go to the website.
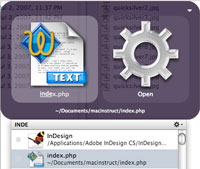
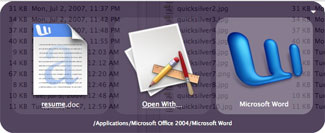
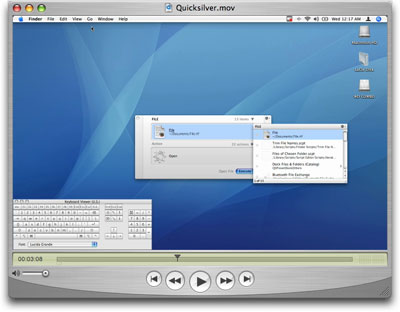
Open a file with a specific application. Now we’re getting fancy. Quicksilver’s three-panel display allows you open files with any application you like. Type the name of the file (or select it), and then press Tab. The second panel panel will highlight. Type “open with”, and then press Tab again. In the third panel, type the name of the application you want to open the file with. Hit the Return key.
Obviously, this just scratches Quicksilver’s surface. To learn about about the ways you can use Quicksilver, take a look at the official Quicksilver documentation.
Change Quicksilver’s Theme
One of the nice things about Quicksilver is that it’s completely customizable. There are a number of themes to choose from - try them all until you find one you like! Here’s how:
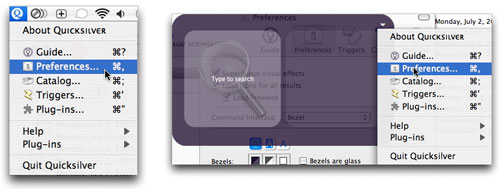
There are two ways to open Quicksilver’s Preferences. If you see Quicksilver’s menu in the menu-bar, click on it and select Preferences. Or, you can open Quicksilver with the keystroke you assigned it, click the arrow, and then select Preferences.
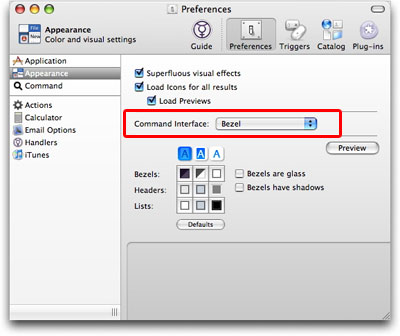
Select the Preferences tab. In the side-bar, click Appearance. Select a theme from the Command Interface menu.
Some of the themes must be downloaded. If the options in the menu are grayed-out, you’ll need to download their plug-ins. (See the next section to learn how to do that.)
Download Quicksilver Plug-ins
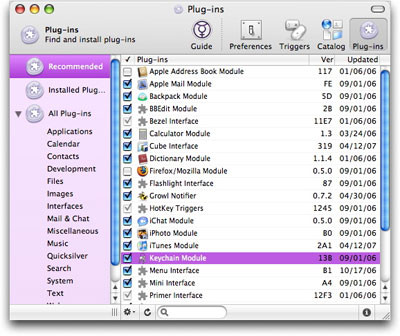
Extend Quicksilver’s functionality with free modules, which allow Quicksilver to interact with the applications on your Mac. Quicksilver allows you to download and install plug-ins on the fly. All you need to do is open the Quicksilver Preferences, select the plug-ins you want to install, and Quicksilver will automatically do the rest. Here’s how to do it:
There are two ways to open Quicksilver’s Preferences. If you see Quicksilver’s menu in the menu-bar, click on it and select Preferences. Or, you can open Quicksilver with the keystroke you assigned it, click the arrow, and then select Preferences.
Select the Plug-ins tab. Select the checkboxes of the plug-ins you’d like to add. Quicksilver will automatically download and install the plug-ins.
Watch Our Quicksilver Screencast
Sometimes seeing is believing. That’s how we feel about Quicksilver - it’s easier to learn how to use the application by watching someone else use it for a while. That’s why we made our screencast! Kick back and watch us do all of the stuff we’ve talked about in this tutorial. Just click here to watch the screencast.
Subscribe to our email newsletter
Sign up and get Macinstruct's tutorials delivered to your inbox. No spam, promise!