How to Make a Movie With Your iSight Camera
John Farr July 12, 2007 Tutorials Mac Hardware
If you’ve recently purchased a new MacBook, MacBook Pro, or iMac, your computer has a built-in iSight camera. Veteran Mac users might still have the external iSight web cameras that were sold for years before being discontinued on December 16, 2006. Thanks to applications like Photo Booth (which allows you to take crazy pictures of yourself and others) and iChat (which lets you video conference with friends and family), you can have hours of fun with your iSight camera.

Celebrity Internet media correspondent Amber Mac and icon guru Gary Gehiere made virtual appearances at Macinstruct’s Launch Party in February 2007 with their iSight cameras.
Of course, the iSight camera can do much more than just take pictures. If you tap into one of iSight’s little-known features, you can also record relatively high-quality videos to email to friends, post on websites, and publish as podcasts. All you need is a Mac, an iSight camera, and iMovie!
Here’s how to do it:
If you’re using an external iSight camera, connect it to your Mac now. Open the iMovie HD application.

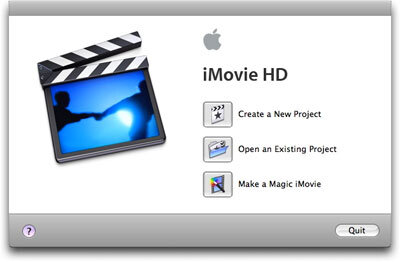
After iMovie opens, select Create a New Project.
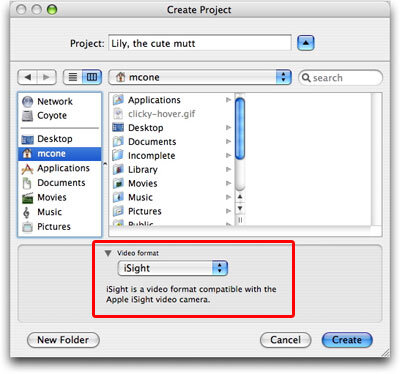
Type a name for your project. Select iSight from the Video format menu, and then click Create.
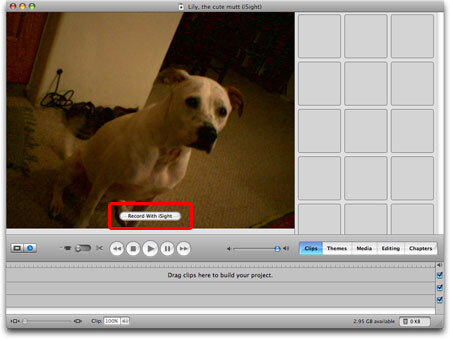
Move iMovie’s slider from edit mode to camera mode.

You’re not recording yet, but iMovie will display a preview of what’s about to be recorded. Get the picture the way you want it, and then click the Record With iSight button.
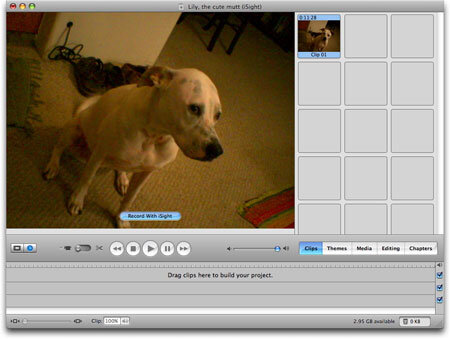
You’ll know you’re recording when the Record With iSight button turns blue. Make your movie! (Remember that your Mac will record audio as well as video.) When you’re finished recording, click the Record With iSight button again. iMovie will stop recording.
Move iMovie’s slider from camera mode to edit mode.
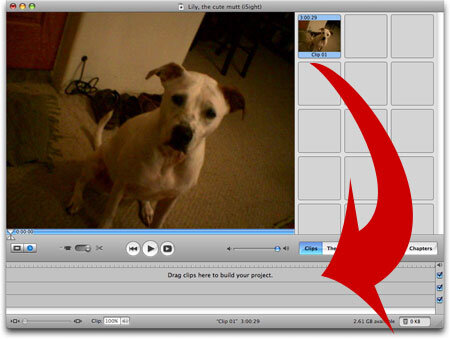
You can now do all sorts of cool things to your video, like add music, themes, effects, and more! Just drag your film clip to lower part of the window, where it says Drag clips here to build your project. Of course, you don’t have to perform any editing at all. We’re not going to - such advanced topics are beyond the scope of this tutorial.
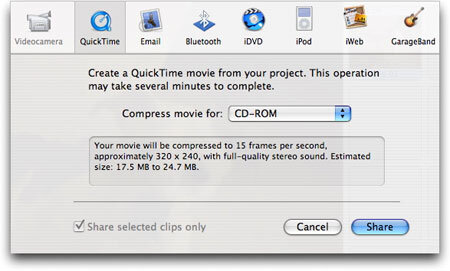
When you’re finished editing, you’ll need to save your movie. Select Export from the File menu. You have dozens of export options! This is one of the toughest parts of making movies. Pick a format for the medium you’ll be using and experiment until you get the final file just the way you want it. Click Share to start creating the movie.
Walk the dog. Drink a beer. Maybe do both. The export process can take a long time depending on your Mac, the length of the movie you made, and the export options you selected. Once iMovie is finished, you’ll have a nice file with your movie in it!


