How to Use iDVD Themes in iMovie
Matt Cone May 3, 2007 Tutorials Mac
iMovie is an awesome video editing application that comes free with every Mac - that part we’ve figured out. You’ve probably already edited with it and figured out that it is capable of a lot. But what if you want more than what the program already offers? What if you feel that the five themes provided in iMovie won’t benefit your video project?

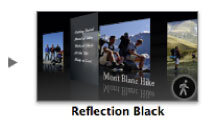
Let’s look at the current themes in iMovie. There’s Travel, Road Trip, Pass Through, Reflection - White, and Reflection - Black. Of course, there are Theme Elements within every Theme, but each of these elements look reasonably similar to the five different types. Sometimes they just won’t cut it when editing a video – like an extreme sports project, for instance.
Apple will no doubt be releasing additional themes for iMovie in the future, but for now there are only so many options. You may also be thinking that the five default themes are only geared towards novice or amateur video editors, but in reality, they can save even the professionals a lot of time. We recommend checking them out to see if they can add anything to your video projects!
If you’ve ever opened iDVD, you have no doubt noticed the plethora of different menu themes available. These themes can add a lot to your video projects, and are relatively easy to integrate into your iMovie video projects. They can be used for more than just DVD menus – they can be part of videos themselves! We’ll show you how to use these iDVD themes in iMovie.
Find the Right iDVD Theme and Customize It
Open iDVD.
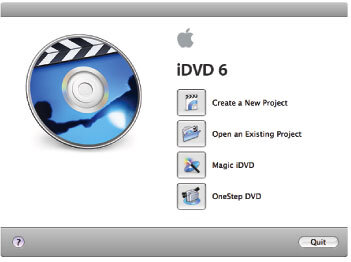
Create a new project and be sure to select the correct aspect ratio for your video project (either Standard 4:3 or Widescreen 16:9). The name of the project doesn’t really matter – just name it whatever you want.

Once you’ve opened iDVD, look through the menu themes for one that you think might be good for your iMovie project. There are a ton of themes, and one of them is bound to work! Some themes that work exceptionally well are the ones with motion, as indicated by the graphic of a guy walking in the right hand corner.
Some of the menu themes might work well as bumpers between video clips in iMovie, and some might be great for a sequence of moving photos.
After you’ve found a theme you like, you can customize it. Drag photos or videos to the drop zones until you think it looks good, and also change any titles that are included in the theme, or delete them altogether. Press the play button in the iDVD window to see how it looks and to preview the video. Also, don’t worry about adding an audio track, that you can add later in iMovie.
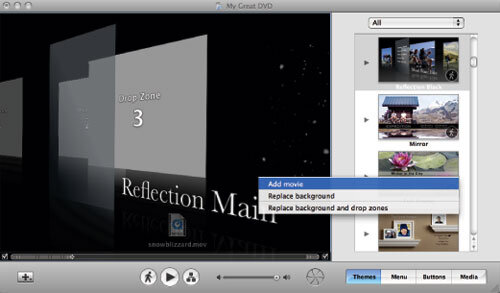
You can also change the background of the iDVD theme even if it isn’t a drop zone! Select any file you want, whether it be a photo or video clip, and then while holding down the command key (the one with the Apple on it), drag it to the iDVD editing window. Then select “Replace background”, while still holding the command key. How cool is that?! Now your theme will look a lot more professional. If you don’t hold down the command key, iDVD will think that you are trying to add the file as part of the DVD content, not as a background.
If there is some part of a theme that you don’t really like and you’d like to remove it entirely (like that opaque bar in the theme above that, if used as for a DVD, would list all the video tracks), and you are feeling adventurous, then check out this tutorial that may provide the answers to removing or changing various elements of iDVD themes:
http://macdvdpro.digitalmedianet.com/articles/viewarticle.jsp?id=67633
We’ve tried the tutorial and it works really well – it just takes some technical know-how!


Getting the Customized Theme into iMovie
Alright, so you have the iDVD menu theme you want, and you’ve customized it for your iMovie project. How do you get the thing into iMovie? Here’s where it gets kinda tricky. But don’t worry. In a few minutes you’ll have a clip from the iDVD theme. See, iDVD was created for making and authoring DVDs, not for being used to create clips to be used in iMovie. We’ll be exporting the iDVD project to your Mac, finding the iDVD menu file, and then converting it to a video file to be used in iMovie.
Here’s how to do it:
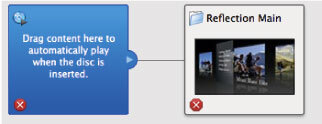
iDVD won’t let you export anything unless you’ve added video content somewhere in the project first - it’ll give you an error message. So open up the DVD map by clicking on the map button below the iDVD project window (the one on the right in the screenshot below).

Drag any video file – it doesn’t matter what (as it won’t be used anyway) – to the box that says Drag content here to automatically play when the disc is inserted. We want the clip to go there, because otherwise it would show up in the menu and we don’t want that since it would add text to the wonderful iDVD menu you’ve already created.
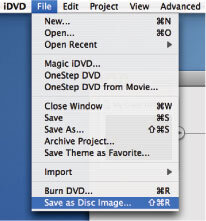
From the File menu, select Save as Disc Image (since we don’t want to actually burn a DVD, we just want to use the DVD menu file).
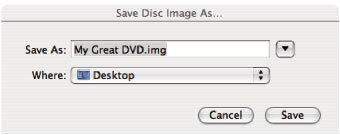
Save the disc image to your computer, in a location you’ll remember.
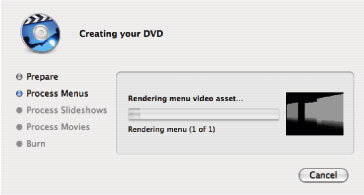
This will save the disc image to your computer, just as if you were burning an actual DVD.
After this process is complete, you can close iDVD.
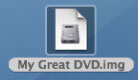
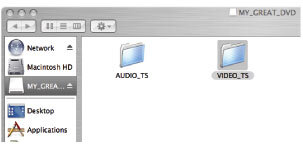
Open (mount) the saved disc image by double-clicking it.
Go to the mounted image in the Finder and open the VIDEO_TS folder.
Now you need a program to convert the DVD menu .VOB file to a .DV file that can be opened with iMovie. If you have Quicktime Pro, go ahead and use that for this portion of the tutorial. Otherwise, a great free program that can be used easily is called MPEG Streamclip created by Squared 5. It may be downloaded from http://www.squared5.com.
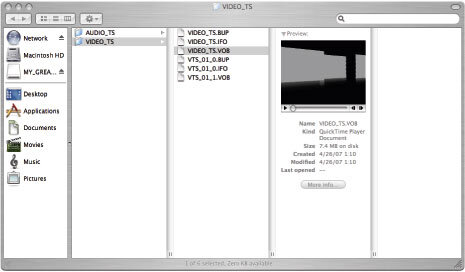
Find the file called VIDEO_TS.VOB (you can disregard all the other files in this folder). Open it using either Quicktime Pro or MPEG Streamclip.
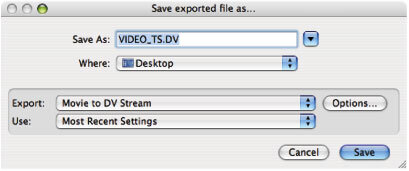
If using Quicktime go to File –> Export, Movie to DV Stream. Then make sure you are saving the .DV file in a location other than in the DVD image. Click Save.
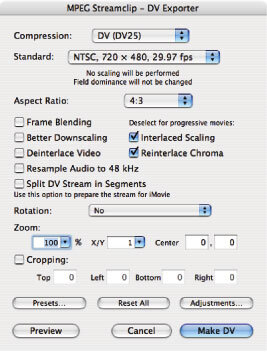
If using MPEG Streamclip go to File –> Export to DV. You should be able to keep all the settings default. Or, if you know what you’re doing and want to change them in some way, go ahead. Click Make DV and save it to your computer in a location other than in the mounted DVD image.
There you have it! An exported .DV file of the iDVD customized menu theme that you can easily import into your iMovie project and use to enhance your video. Add sound, filters, even titles to the clip in iMovie to make it even better. You can unmount your DVD image and delete the .IMG file since you now have the converted .DV file to use in iMovie.


We hope this tutorial proves helpful in making your iMovie video projects even better!