How to Add Email Accounts to Apple's Mail
Matt Cone August 23, 2007 Tutorials Mac Apps Email
Every Mac comes with Apple’s very own killer email client. It’s called Mail, and in our opinion, it’s one of the greatest applications ever. Thanks to Mail, you don’t have to check each of your separate email accounts online anymore. Just pop them all into Apple’s Mail and you can read all of your messages in one simple application.

But how do you get your email accounts into Mail? Or, if you’re already using Mail, how do you add other email accounts? We’ll show you how to do it!
Open the Mail application. You can find it in the Applications folder, and it’s usually also on your Mac’s Dock.
From the File menu, select Add Account.

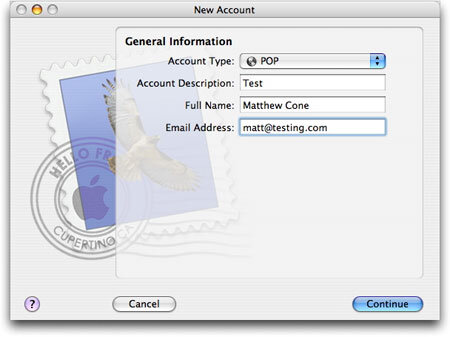
Select your email account type from the Account Type menu. Most email accounts should be POP accounts. Enter your full name and email address.
Click Continue.
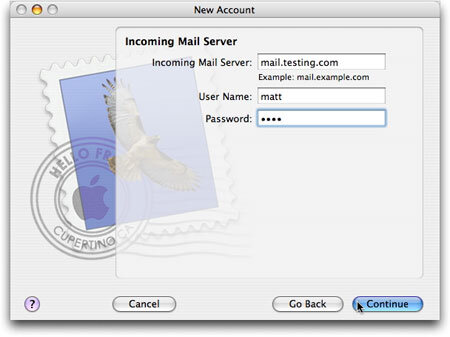
Enter your incoming mail server (also known as the POP server), user name, and password. In some cases, your user name might be your full email address. If you don’t have this information, contact your service provider.
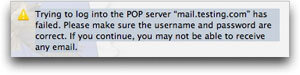
Click Continue. Mail will now try to log into the POP server you provided. If the test fails, click continue anyway. (Mail’s test doesn’t always work – even if you’ve provided the correct information.)
If your incoming mail server requires authentication, check the Use Secure Sockets Layer (SSL) checkbox and select an authentication type.
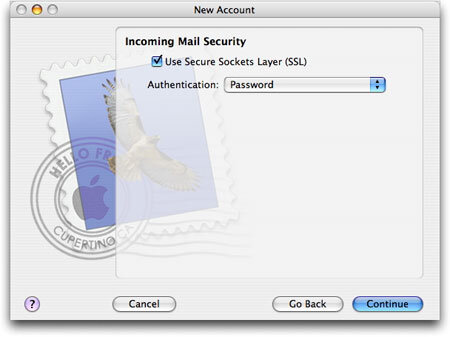
Click Continue.
Type in your Outgoing Mail Server (also known as a SMTP server). If your outgoing mail server requires authentication, check the User Authentication checkbox and enter your user name and password.
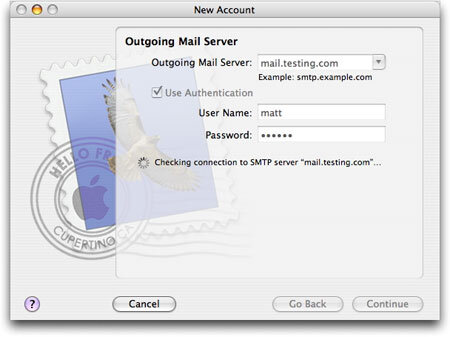
Click Continue.
If your outgoing mail server requires SSL, check that box and select your authentication.
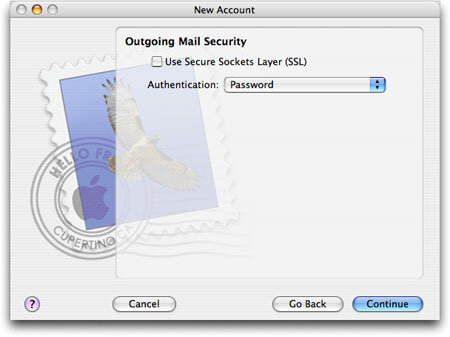
Click Continue.
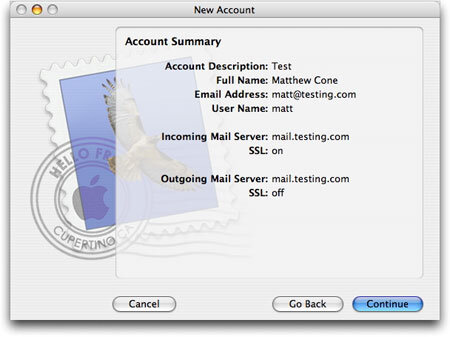
Make sure the information you have entered is correct. Click Continue.
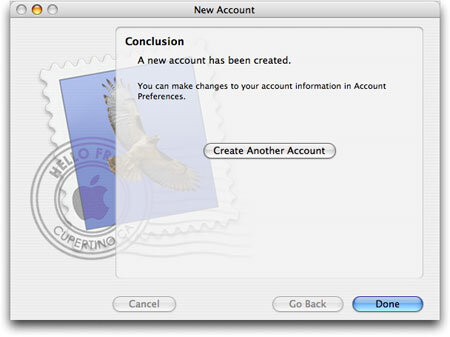
That’s it! You’ve added a new email account to Mail. To add another email account, click Create Another Account. To finish the process, click Done.