How to Make a Favicon
Stephen Korecky March 15, 2007 Tutorials Mac Internet Developer
Have you ever noticed those little icons in the address bar of your web browser? They also appear next to your bookmarks, and sometimes next to the items in your RSS feeds. These favicons - or “favorites icons” - are more fun to look at than they are functional, but almost every website has one these days.
Now, your website can have a favicon, too. It’s easy to make these little icons with your favorite graphics editor. Here’s how:
Start by making or using any image you want to use as your icon. Your icon should be square. If it’s not, you’ll need to open Photoshop and crop it so that it’s square. For our example, we started with a 500x500 pixel square and created our own image.
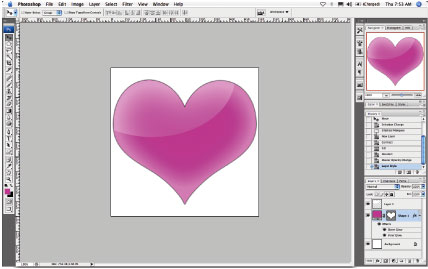
You’ll notice that we used a gloss on our icon, but in reality, it probably won’t show up very well. Favicons are small, so keep your shape simple! Your favicon may look better in some browsers than others. To learn more about creating icons, check out these Macinstruct tutorials: How to Make Mac Icons and A Behind-the-Scenes Look at Mac Icon Design.
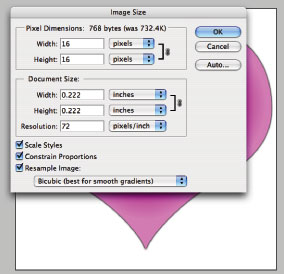
From the Image menu, select Image Size. Scale your image down to 16x16 pixels and click OK.
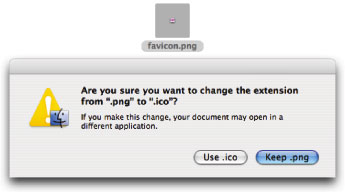
From the File menu, select Save for Web. Save your icon as a PNG file and use PNG Compression. Save the file as favicon.png.

By default, most web servers are configured to accept favicons with the file name favicon.ico. So, we’ll change our icon’s file extension from .png to .ico. To do this, rename the file favicon.ico. When you’re asked: Are you sure you want to change the extension from “.png” to “.ico”?, click Use .ico.
Alright, so now we have an icon with the right name and file type. Using an FTP client (like Transmit), upload your favicon to your web server and place it in your document root directory. This is important, so if you don’t know what your document root directory is, ask your hosting provider.
Now all we need to do is add the HTML code to our web pages so our favicon will show up! The following code is what we’ll be using:
<link rel="shortcut icon" href="/favicon.ico">In a web page it looks like this:<head> <link rel="shortcut icon" href="/favicon.ico"> <title>Apple</title> </head>The “link rel” line of code can be before or after the<title>tags, but it must be in the<head>section. So open your favorite HTML editor and add that code.See it in action! http://deviantgroup.com/extras/favicon/

Subscribe to our email newsletter
Sign up and get Macinstruct's tutorials delivered to your inbox. No spam, promise!