How to Use Your Phone Number for iMessage on Your Mac
Matt Cone December 10, 2021 Tutorials Mac
iMessage is Apple’s end-to-end encrypted instant messaging service that you can use to send text messages, photos, and more to other people who own Apple devices. You can add your phone number to the Messages application on your Mac to send and receive iMessages using your phone number. After you add your phone number, you’ll receive all iMessages sent to your phone number on your Mac.

First, check that your phone number is enabled for iMessage on your iPhone:
From the home screen on your iPhone, tap Settings.
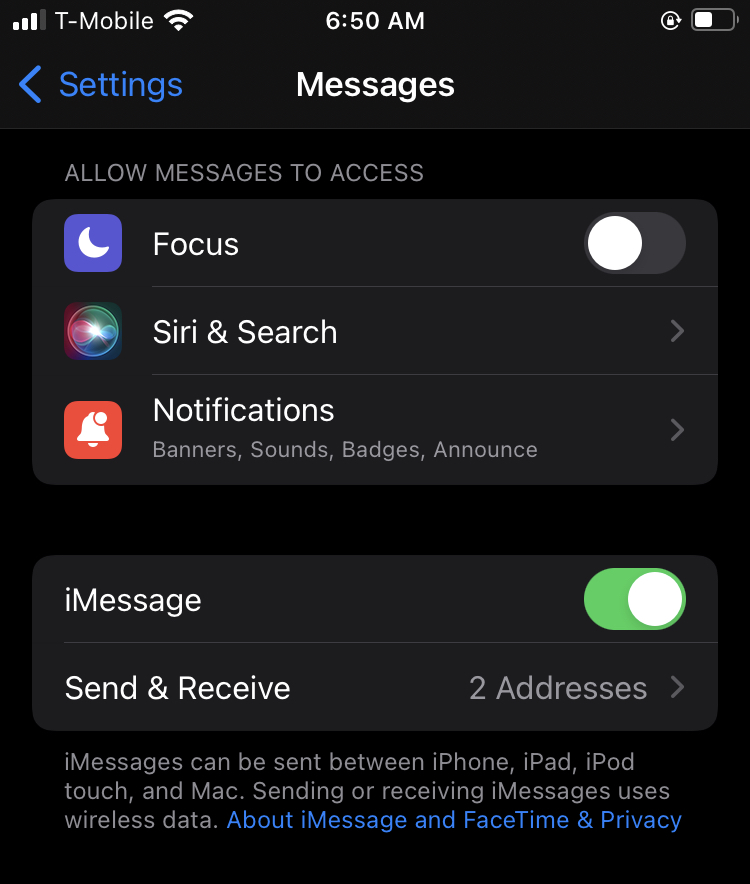
Tap Messages, as shown below.
Make sure that the iMessage switch is turned on, as shown below.
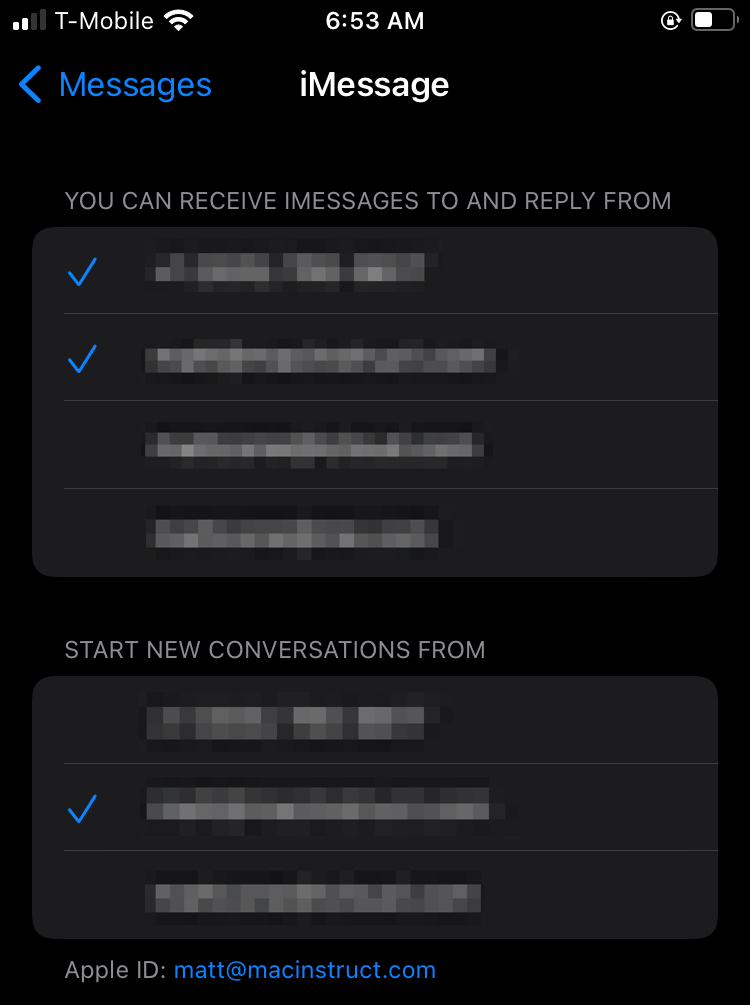
Tap Send & Receive. Verify that your phone number has a check mark next to it — if it doesn’t, tap it to enable it for iMessage.


Now we can turn to the Mac. Here’s how to use your phone number for iMessage on your Mac:
On your Mac, open the Messages application.
From the Messages menu, select Preferences.
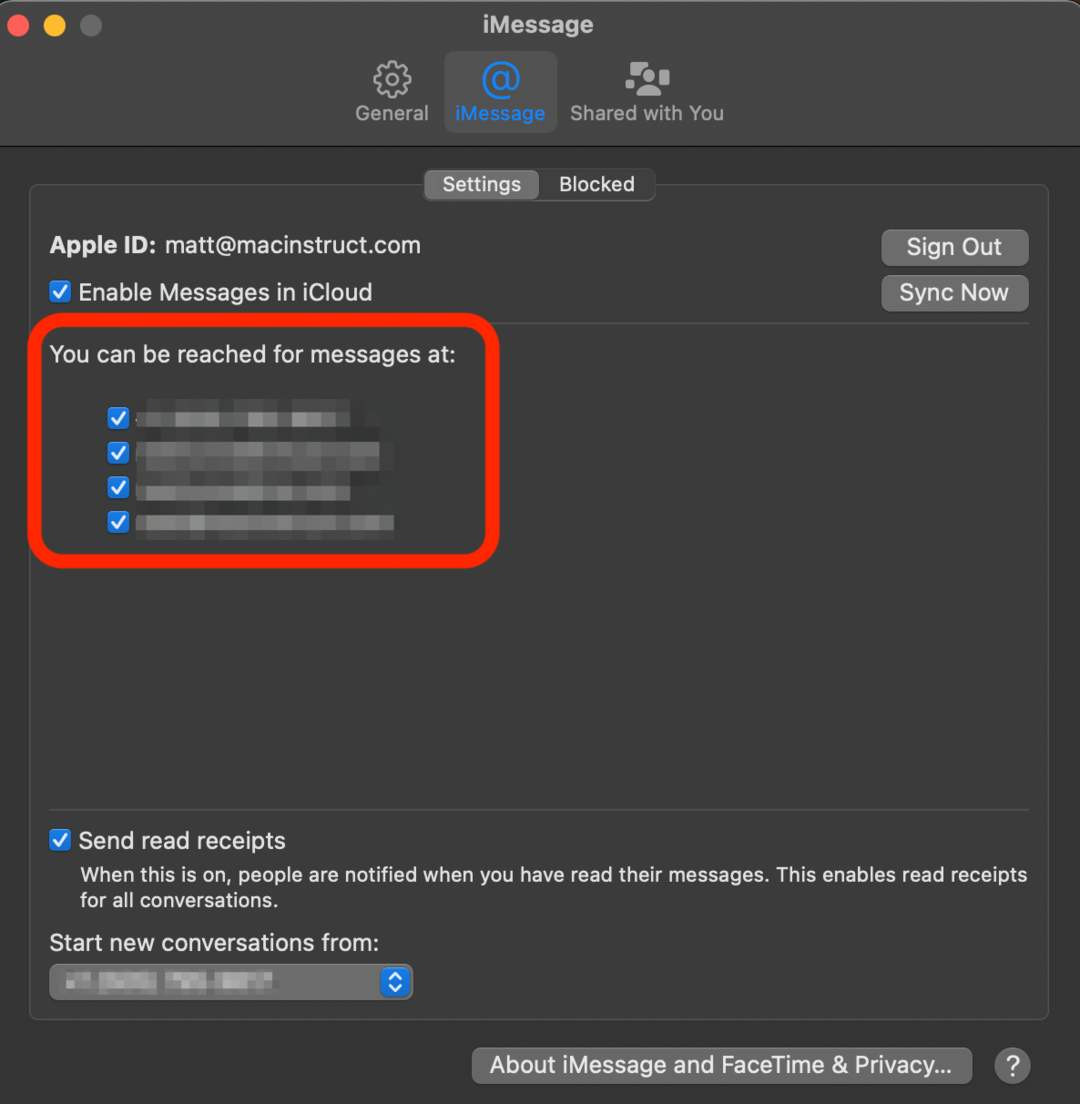
Click the iMessage tab. Make sure that you’re signed in to iCloud and have the Enable Messages in iCloud checkbox selected.
You should see your phone number in the middle of the window. Click the checkbox next to your phone number to use it for iMessage on your Mac.

You’ve added your phone number for iMessage on your Mac. Now you’ll receive all of the iMessages sent to your phone number on your Mac.